To send personalized attachments to each recipient, upload your files to Google Drive and add their URLs in a column of your sheet. MailMerge will get the files from your Drive and send them as attachments to your email.
In our example, we are sending personalized invoices to each employee, who will be attributed a unique registration number.
List the ID related to each recipient under a new column of your spreadsheet:
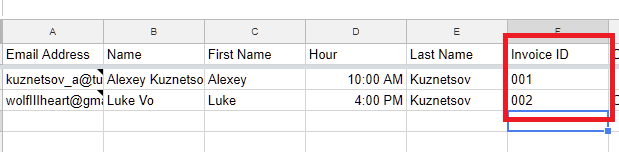
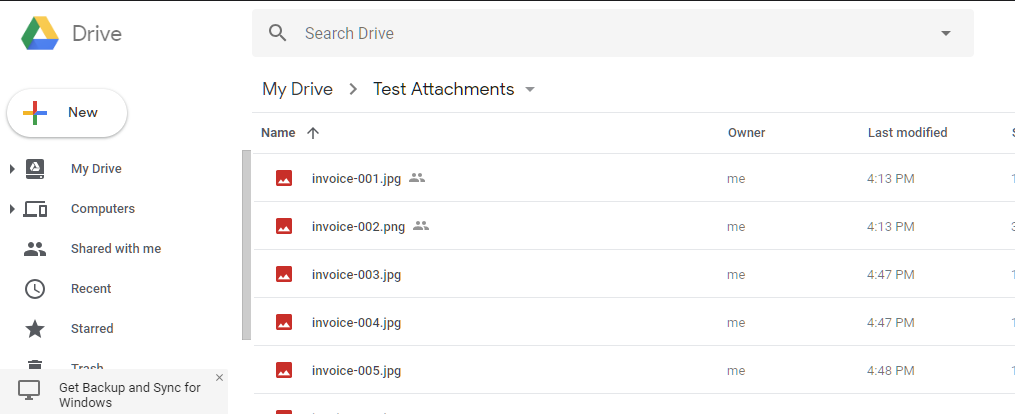
Our naming convention for the invoice/file titles is: 'invoice-INVOICE_ID', where 'INVOICE_ID' matches exactly the ID in our spreadsheet.
For example, Alexey's ID is 001, so his invoice will be named 'Invoice-001'.
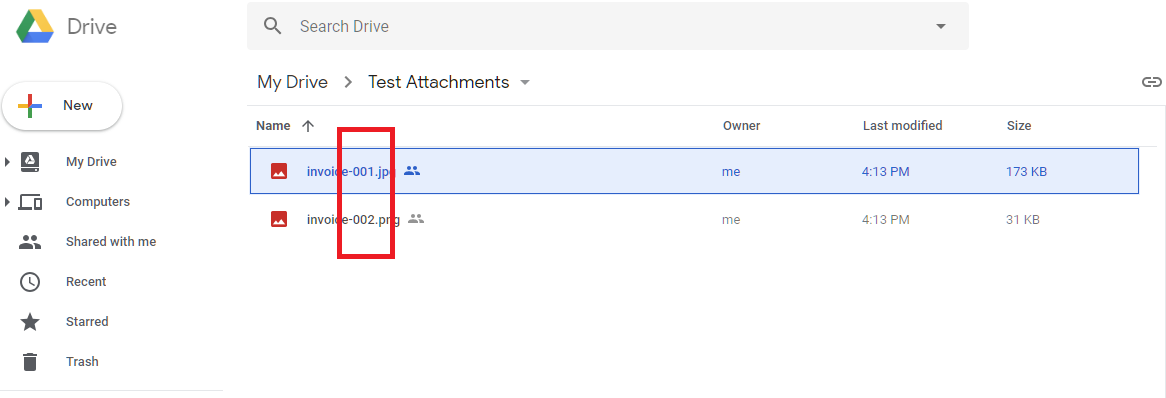
Make sure to include the same ID in the invoice title for each recipient / employee, and upload the files in a Drive folder:
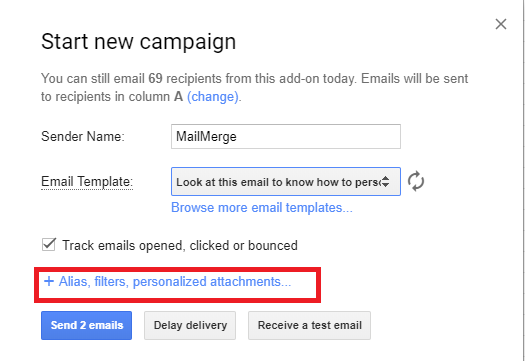
You are now ready to use MailMerge to send your personalized attachments.
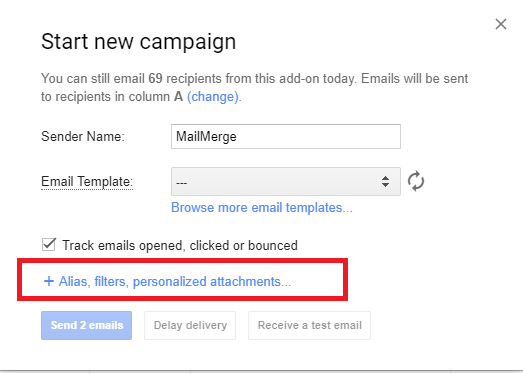
Go back to your Google Sheet, then click 'Add-ons > MailMerge > Start email campaign'.
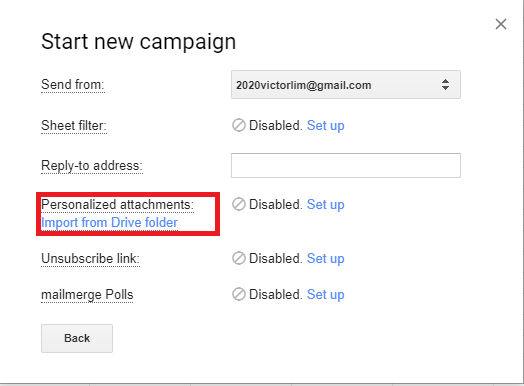
Click '+ Alias, filters, personalized attachments...', then 'Import from Drive folder':
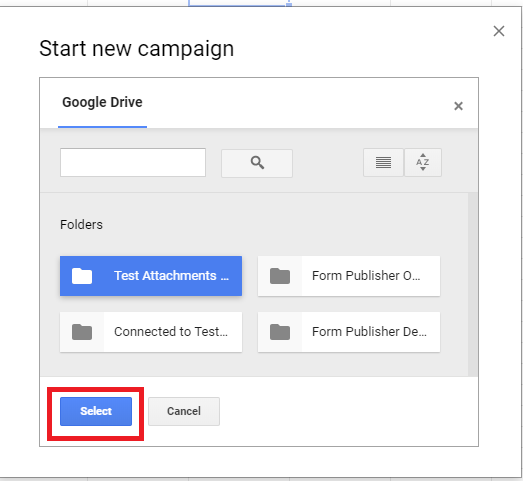
Select your Drive folder that contains your invoices:
Then choose the 'column to check for matches':

Click 'Import files'. Once done, MailMerge will automatically list your invoices URLs next to the right recipients. You'll also notice that we have detected the right column that contains your attachments:

You can now send your mail merge with the personalized attachments to your contact list. Click 'Back' then 'Send xx emails'.


Go back to your Google Sheet, then click 'Add-ons > MailMerge > Start email campaign'.
Click '+ Alias, filters, personalized attachments...', then, check the box 'Attach files in column xx to emails sent':
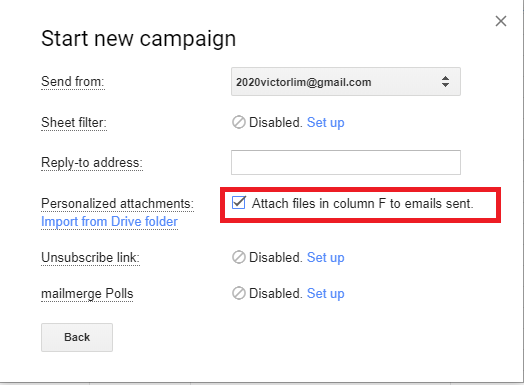
Each recipient will receive the right attachment based on the URL you have added on each row.
